Introduction
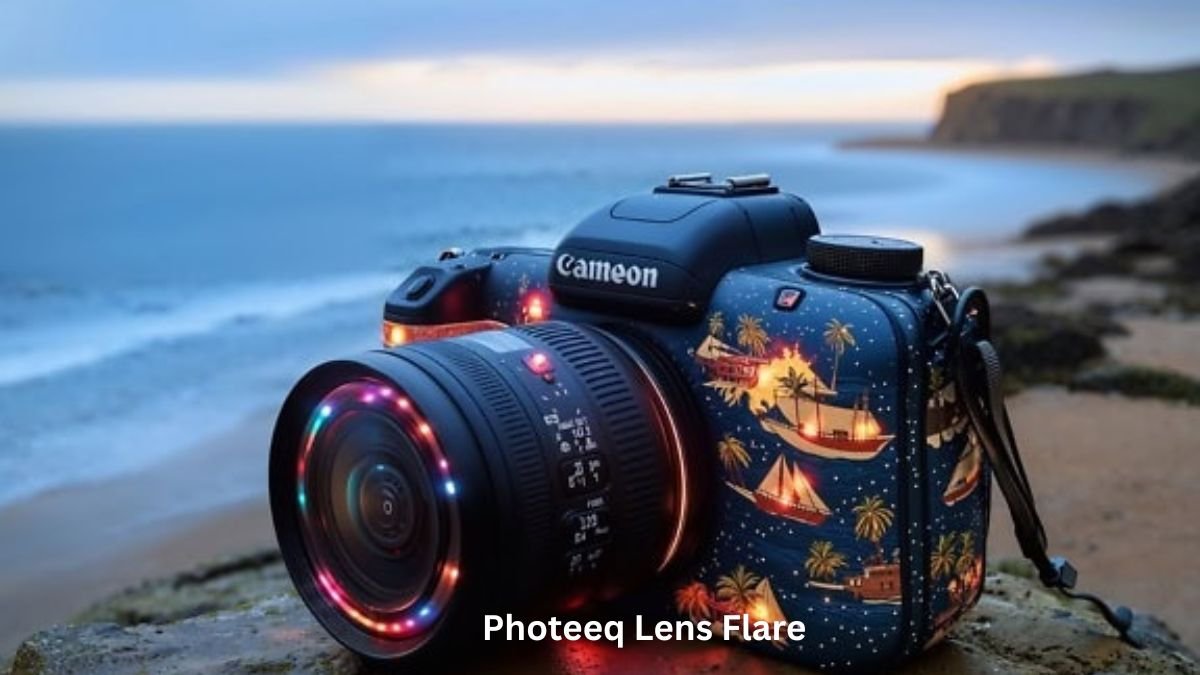
Photeeq Lens Flare is a captivating visual effect often used in photography and cinematography to create a dreamy, dramatic, or nostalgic feel. It occurs when light directly enters the camera lens, creating streaks, orbs, or haze. While some photographers avoid it, others embrace it as an artistic tool.
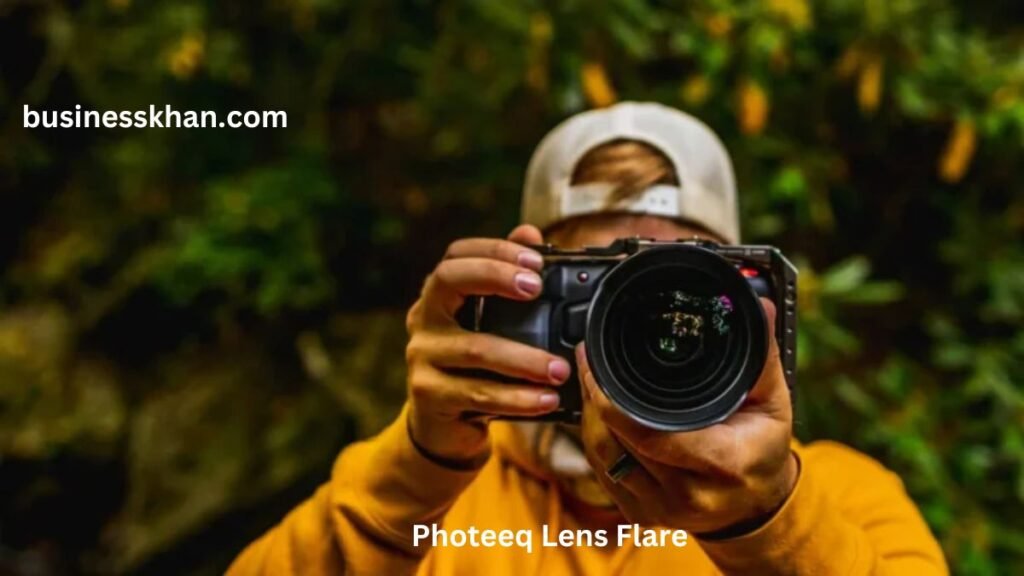
Photeeq Lens Flare is a powerful tool designed to enhance images with professional-grade lens flare effects. Whether you’re a photographer, graphic designer, or digital artist, Photeeq provides a seamless way to integrate stunning flares into your work. But what makes Photeeq stand out? And how can you use it to elevate your photos? Let’s dive in!
Understanding Lens Flare in Photography
Natural vs. Artificial Lens Flare
Photeeq Lens Flare can either be a natural occurrence caused by strong light sources (such as the sun or streetlights) or an artificial effect added in post-processing. Natural flares depend on camera settings, lens quality, and light angles, whereas artificial flares are digitally created to mimic real-life effects.
How Light Interacts with Camera Lenses
When a bright light source enters the camera, it scatters within the lens elements, creating various artifacts such as halos, streaks, or ghosting. High-quality lenses often have coatings to minimize flare, but some photographers intentionally introduce it for a cinematic touch.
Common Causes of Lens Flare
- Shooting directly into the sun or bright lights
- Using older or uncoated lenses
- Having dust or smudges on the lens
- Light sources reflecting within lens elements
Photeeq: A Game-Changer in Lens Flare Effects
What is Photeeq?
Photeeq Lens Flare is a digital editing tool or plugin that specializes in realistic lens flare effects. It allows users to add and manipulate flares in post-processing, making it an invaluable asset for photographers and designers.
Features and Benefits
- Realistic Light Effects – Photeeq Lens Flare replicates natural lens flares with high accuracy.
- Easy Customization – Users can control intensity, color, size, and placement.
- Seamless Integration – Works with major editing software like Photoshop and Lightroom.
- Time-Saving – Instead of capturing flares manually, photographers can apply them instantly.
Types of Lens Flare Effects in Photeeq
Photeeq Lens Flare offers various flare styles, each serving a unique artistic purpose:
- Ghosting – Small light reflections scattered across the image.
- Veiling Glare – A soft, hazy glow that reduces image contrast.
- Starburst Effects – Radiating light streaks, often seen in nighttime photography.
- Circular or Ring Flares – Bright rings appearing around the light source.
These effects can be mixed and matched to create a personalized aesthetic.
How to Use Photeeq for Lens Flare Effects
Adding lens flare in Photeeq Lens Flare is simple. Follow these steps:
- Open your image in Photoshop or your preferred editing software.
- Import the Photeeq plugin and select the lens flare tool.
- Choose your flare style from the available presets.
- Adjust brightness, color, and position to match the lighting in your photo.
- Fine-tune the opacity and blending mode for a natural effect.
- Apply and save your image for the final touch.
Photeeq’s user-friendly interface makes it accessible to beginners and professionals alike.
Advantages of Using Photeeq for Lens Flare
Photeeq Lens Flare stands out from other flare tools due to:
- High-Quality Realism – No pixelation or artificial-looking results.
- Non-Destructive Editing – Keeps original images intact.
- Time Efficiency – Quick, professional-grade effects in minutes.
Unlike Photoshop’s built-in flare tool, Photeeq provides more flexibility and realistic results.
Common Mistakes to Avoid with Lens Flare
While lens flare can enhance images, misusing it can ruin the composition. Here are some common mistakes:
- Overuse – Too much flare can overpower the subject.
- Incorrect Positioning – Placing flares where no light source exists makes them look unnatural.
- Unrealistic Colors – Flares should match the image’s lighting temperature.
Careful application ensures your images remain visually appealing.
Comparing Photeeq to Other Lens Flare Plugins
When it comes to adding lens flare effects, several tools and plugins are available. Let’s compare Photeeq with some popular alternatives to see how it stands out.
Photeeq vs. Photoshop’s Built-in Lens Flare
- Realism: Photeeq Lens Flare provides more natural-looking lens flares, while Photoshop’s built-in tool often looks artificial.
- Customization: Photeeq allows precise adjustments to intensity, color, and placement, whereas Photoshop’s tool has limited control.
- Ease of Use: Photoshop requires blending techniques for realistic effects, whereas Photeeq simplifies the process with drag-and-drop options.
Photeeq vs. LensFlare Studio
- Compatibility: Photeeq Lens Flare integrates with popular editing software, while LensFlare Studio is a standalone program.
- Effect Variety: Both offer a range of flare styles, but Photeeq Lens Flare has a more user-friendly interface.
- Pricing: LensFlare Studio may be a one-time purchase, while Photeeq’s pricing varies based on licensing and software integration.
Which One is Best for You?
If you’re looking for a seamless workflow with maximum customization, Photeeq is the ideal choice. However, Photoshop’s built-in tool may work for basic edits, and LensFlare Studio might be preferable for those who don’t use Photoshop or Lightroom.
Best Practices for Using Lens Flare in Photography
Using lens flare effectively can elevate your images. Here are some best practices to follow:
When to Use Lens Flare for Artistic Effects
- Golden Hour Photography – Flares enhance the warm glow of sunrise or sunset shots.
- Cinematic Portraits – A subtle flare can add depth and emotion.
- Urban Nightscapes – Artificial lights create dramatic lens flare effects.
Balancing Natural and Artificial Light
- Ensure the added flare matches the natural light direction in your photo.
- Adjust the opacity to blend seamlessly with the background.
- Use color correction to maintain realism.
Maintaining Image Clarity
- Avoid excessive flare that reduces contrast and detail.
- Use layer masks to selectively apply effects.
- Keep the subject sharp by positioning the flare strategically.
Photeeq for Different Photography Styles
Photeeq Lens Flare isn’t just for one type of photography—it’s versatile and can enhance various styles.
Portrait Photography
Adding a soft, warm flare can create a dreamy or cinematic effect in portrait shots. It works well for backlit subjects, making the light look natural and immersive.
Landscape Photography
Sun flares can add warmth and realism to outdoor scenes, enhancing sunsets, beaches, and mountain views.
Cinematic Photography
Filmmakers and photographers often use lens flares to add drama and a high-end Hollywood aesthetic to images and videos.
Is Photeeq Worth It? Pricing and Availability
Before investing in any software, it’s important to consider the cost and available features.
Subscription vs. One-Time Purchase
- Some versions of Photeeq may require a subscription.
- Other versions may be available as a one-time purchase.
- Check the official Photeeq website for the latest pricing options.
Free Alternatives vs. Premium Features
- Free alternatives exist but often lack customization options.
- Photeeq provides high-quality, customizable flares that are difficult to achieve with free tools.
If you frequently use lens flares in your work, Photeeq Lens Flare is a worthwhile investment.
Troubleshooting and FAQs About Photeeq
Issues with Installation
- Ensure you are downloading from a trusted source.
- Check software compatibility with your editing program.
- Restart your application if Photeeq Lens Flare does not appear after installation.
Compatibility with Different Software

- Works best with Photoshop and Lightroom.
- Some versions may integrate with other graphic design programs.
Tips for Mastering Lens Flare Effects with Photeeq
Want to take your lens flare effects to the next level? Here are some pro tips:
- Use Layering Techniques – Add multiple flare layers for depth and realism.
- Combine Multiple Effects – Mix ghosting, starburst, and veiling glare for dynamic compositions.
- Adjust Opacity Gradually – Start with low opacity and increase gradually to avoid overexposure.
- Experiment with Blending Modes – Overlay and Screen modes often work best for flares.
- Match the Light Source – Position flares where a natural light source would be in the scene.
Conclusion
Photeeq Lens Flare is an exceptional tool for photographers and digital artists who want to add professional-quality lens flare effects. Its ease of use, realistic output, and flexibility make it a must-have for enhancing images.
FAQs
1. Can I use Photeeq on mobile devices?
Photeeq is primarily designed for desktop use with software like Photoshop, but check their website for mobile compatibility.
2. Is Photeeq free to use?
Photeeq may offer free trials, but the full version is usually a paid product.
3. Does Photeeq work with all versions of Photoshop?
It supports most modern versions, but it’s best to check compatibility before installing.
4. How do I remove lens flare if I change my mind?
Since Photeeq uses non-destructive editing, you can simply remove or hide the layer containing the flare.
5. Can Photeeq be used for video editing?
Photeeq is mainly for still photography, but similar effects can be applied in video editing software.